Effective Crack Injection for Concrete Repair: Step-by-Step Guide

Table of Contents

Introduction

Concrete cracks are a common issue in many structures, often leading to leaks that can cause significant damage if not properly sealed. Crack injection is a highly effective technique for repairing these cracks and stopping water infiltration.

In this detailed guide, we’ll walk you through the five essential steps involved in the crack injection process. By understanding these steps, you’ll be able to effectively seal leaks in concrete using polyurethane resins.

Crack injection involves five key steps:

  1. Drilling Holes
  2. Flushing the Holes
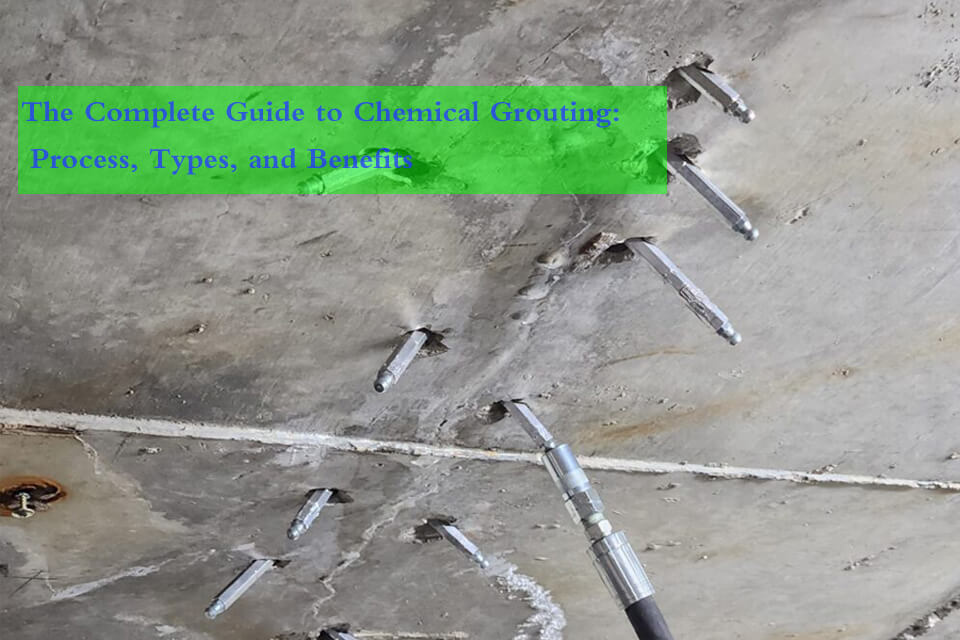
  3. Installing Injection Ports
  4. Flushing the Crack
  5. Injecting the Resin

These steps require precision and care to ensure a successful repair. Improper execution can lead to incomplete sealing or expensive callbacks, especially when working around obstacles such as rebar or very tight cracks. This guide explains each step in depth, offering practical tips for overcoming common challenges and ensuring a thorough and lasting repair.

Step 1: Drilling the Holes

The first step in the crack injection process is drilling holes into the concrete structure. These holes serve as pathways for the injection ports and ultimately allow the resin to penetrate and seal the crack.

Key Considerations:

Angle of Drilling: Holes are typically drilled at a 45-degree angle to ensure they intersect the crack halfway through the structure. For instance, on a 10-inch thick wall, drilling at this angle ensures that you meet the crack at its center, allowing the resin to flow evenly toward both the front and back of the crack.

Spacing the Holes: The spacing between holes depends on the width of the crack. Tighter cracks require closer hole spacing since the resin won’t travel as far. A general rule is to space the holes no farther apart than the thickness of the concrete.

Handling Rebar: When drilling, it’s common to hit rebar, the steel reinforcement embedded in the concrete. You’ll know you’ve hit rebar if the drilling becomes more difficult or if the sound changes. In this case, adjust your drilling angle by either moving closer to or farther from the crack, avoiding the rebar as much as possible.

Pro Tip:

Ensure that the drill bit stays straight to maintain a perfectly round hole. This is important because the injection ports need to form a tight seal against up to 3,000 psi of injection pressure.

Step 2: Flushing the Holes

Once the holes are drilled, they need to be thoroughly flushed out to remove any concrete dust. If left inside, this dust can clog the crack or mix with the resin, forming a thick paste that blocks the resin from fully sealing the crack.

Steps for Proper Flushing:

Use a flexible hose to flush water into the hole, ensuring the dust is pushed from the back of the hole to the surface of the concrete.

Continue flushing until clean water is flowing out of the hole. Flushing only the surface of the hole is insufficient—dust deep in the hole must be removed.

If water is already present in the hole or the crack, you may be able to skip this step.

Pro Tip:

Use a separate flush pump specifically for this task. It ensures the water is pushed with enough pressure to clean out the entire hole. Relying on makeshift methods, like squeezing water from a bottle, won’t be effective in completely removing the dust

Step 3: Installing Injection Ports

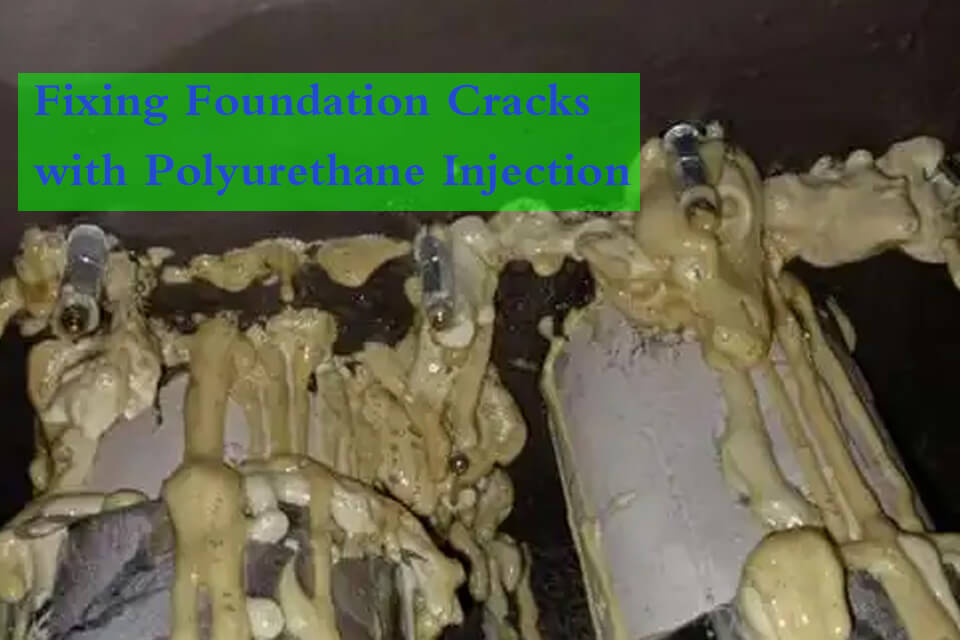
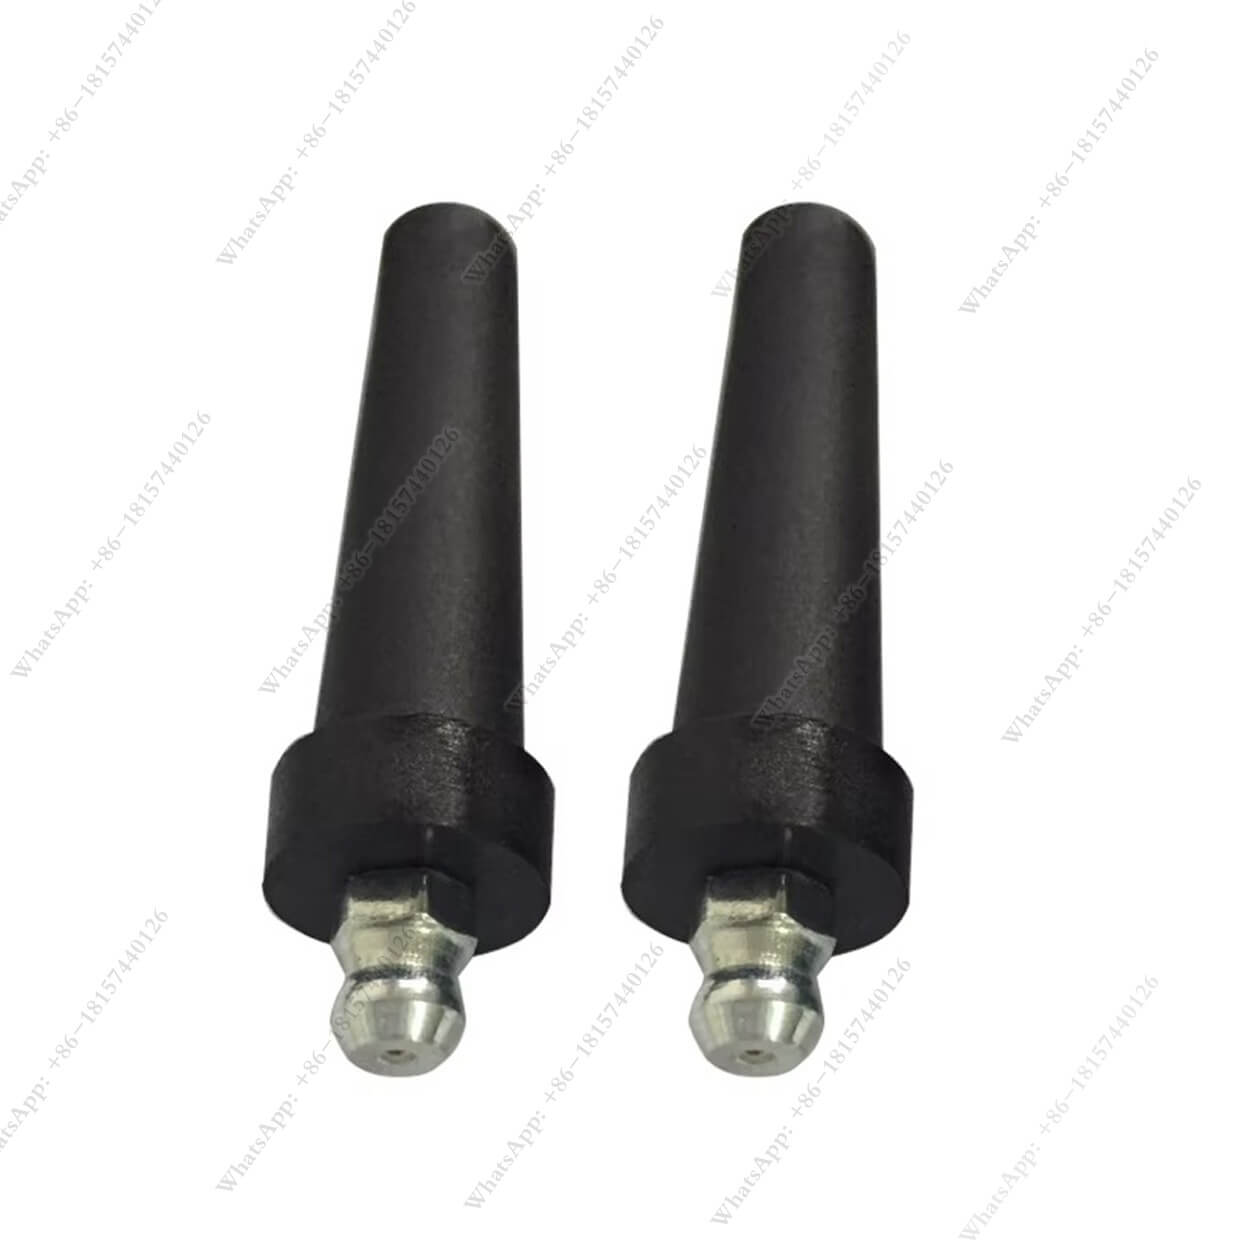
With the holes drilled and flushed, the next step is to install injection ports. These ports serve as entry points for the resin to be injected into the crack.

Types of Injection Ports:

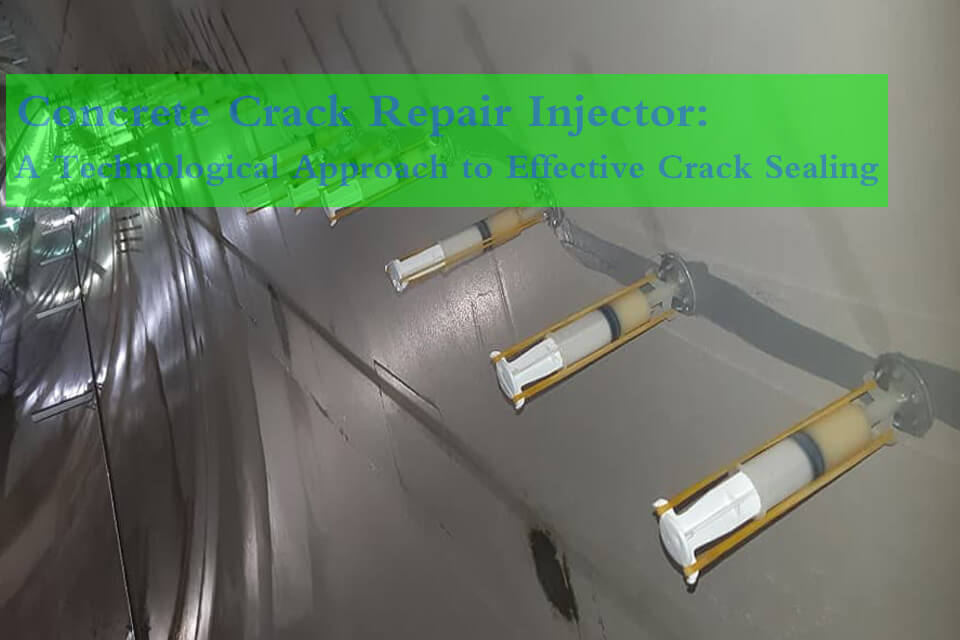
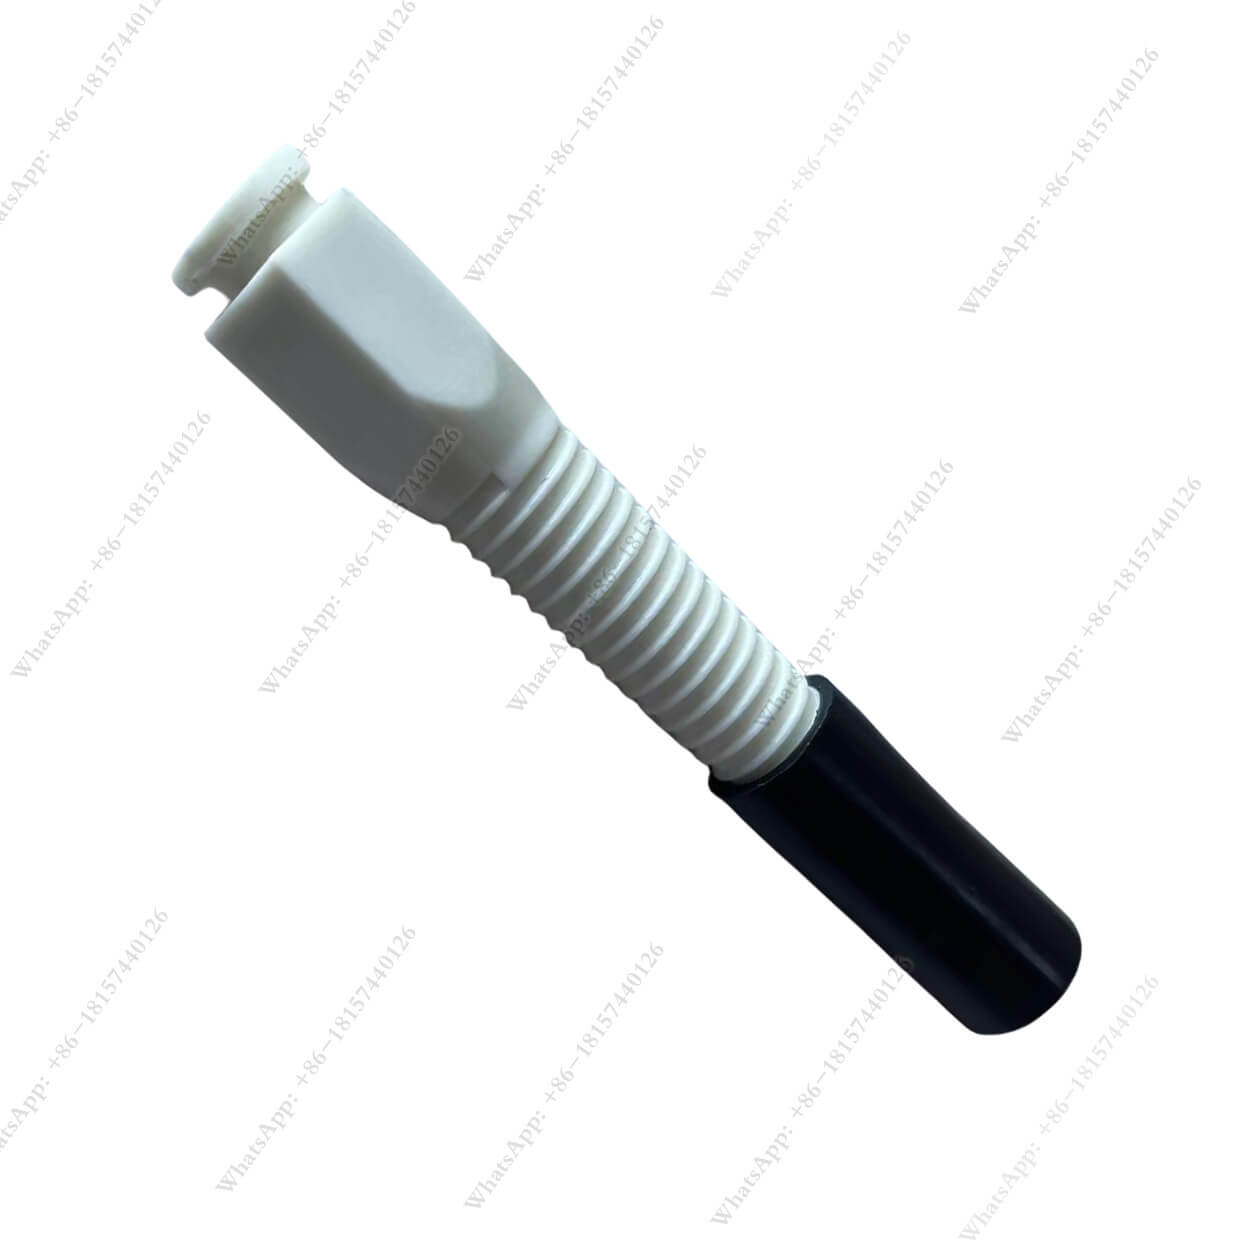
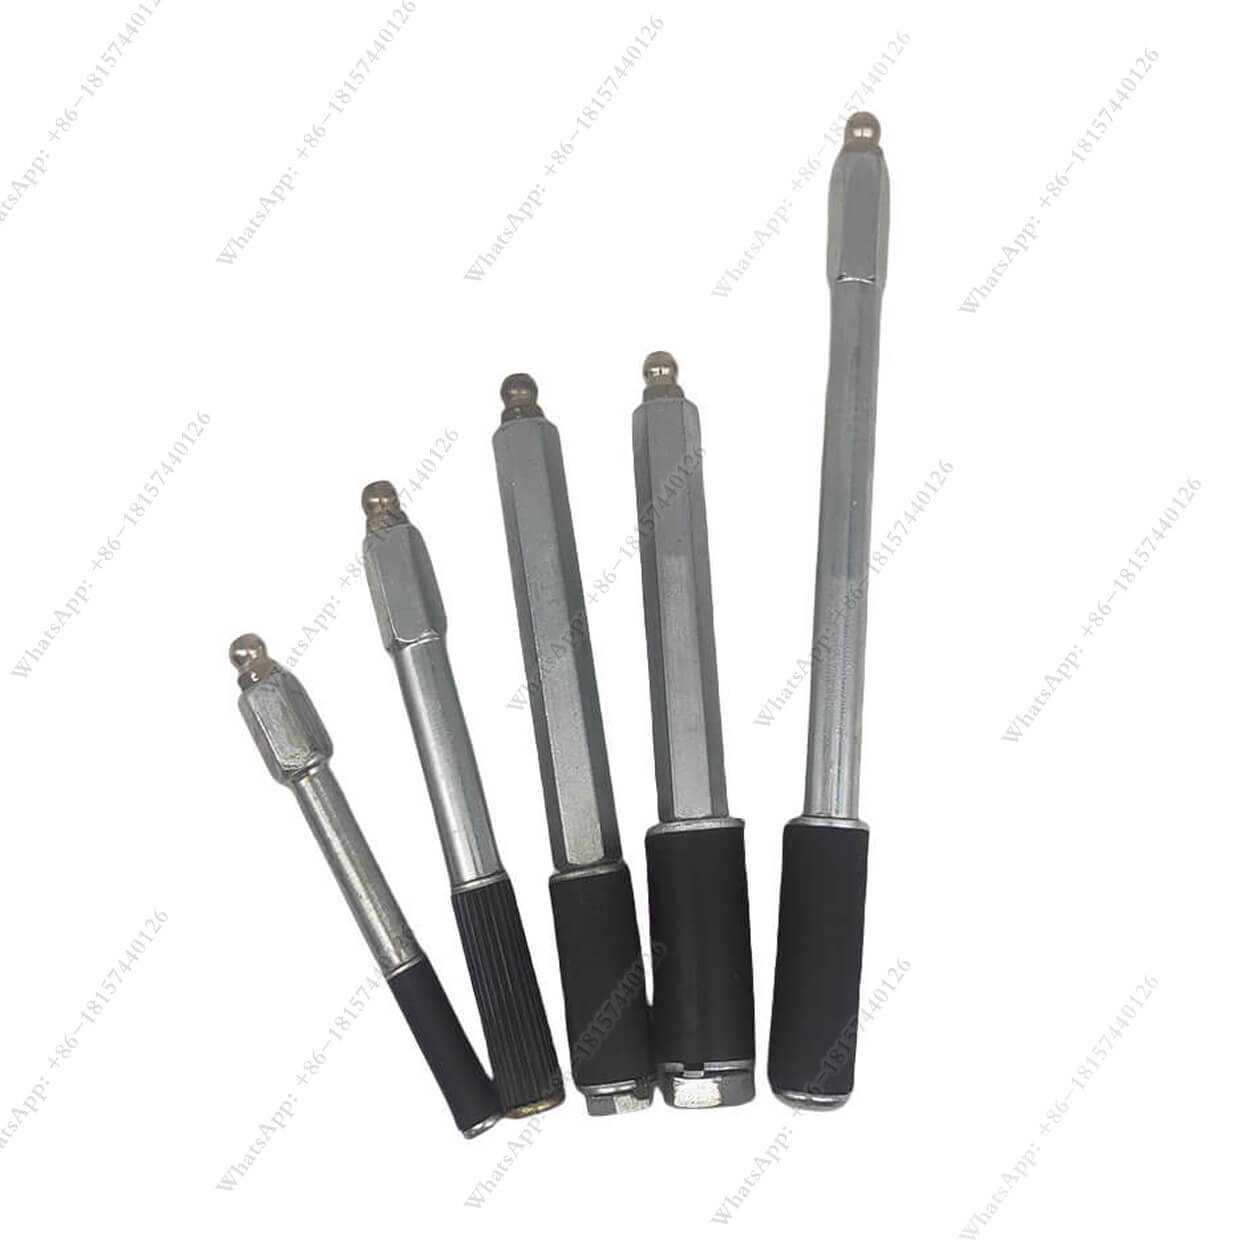
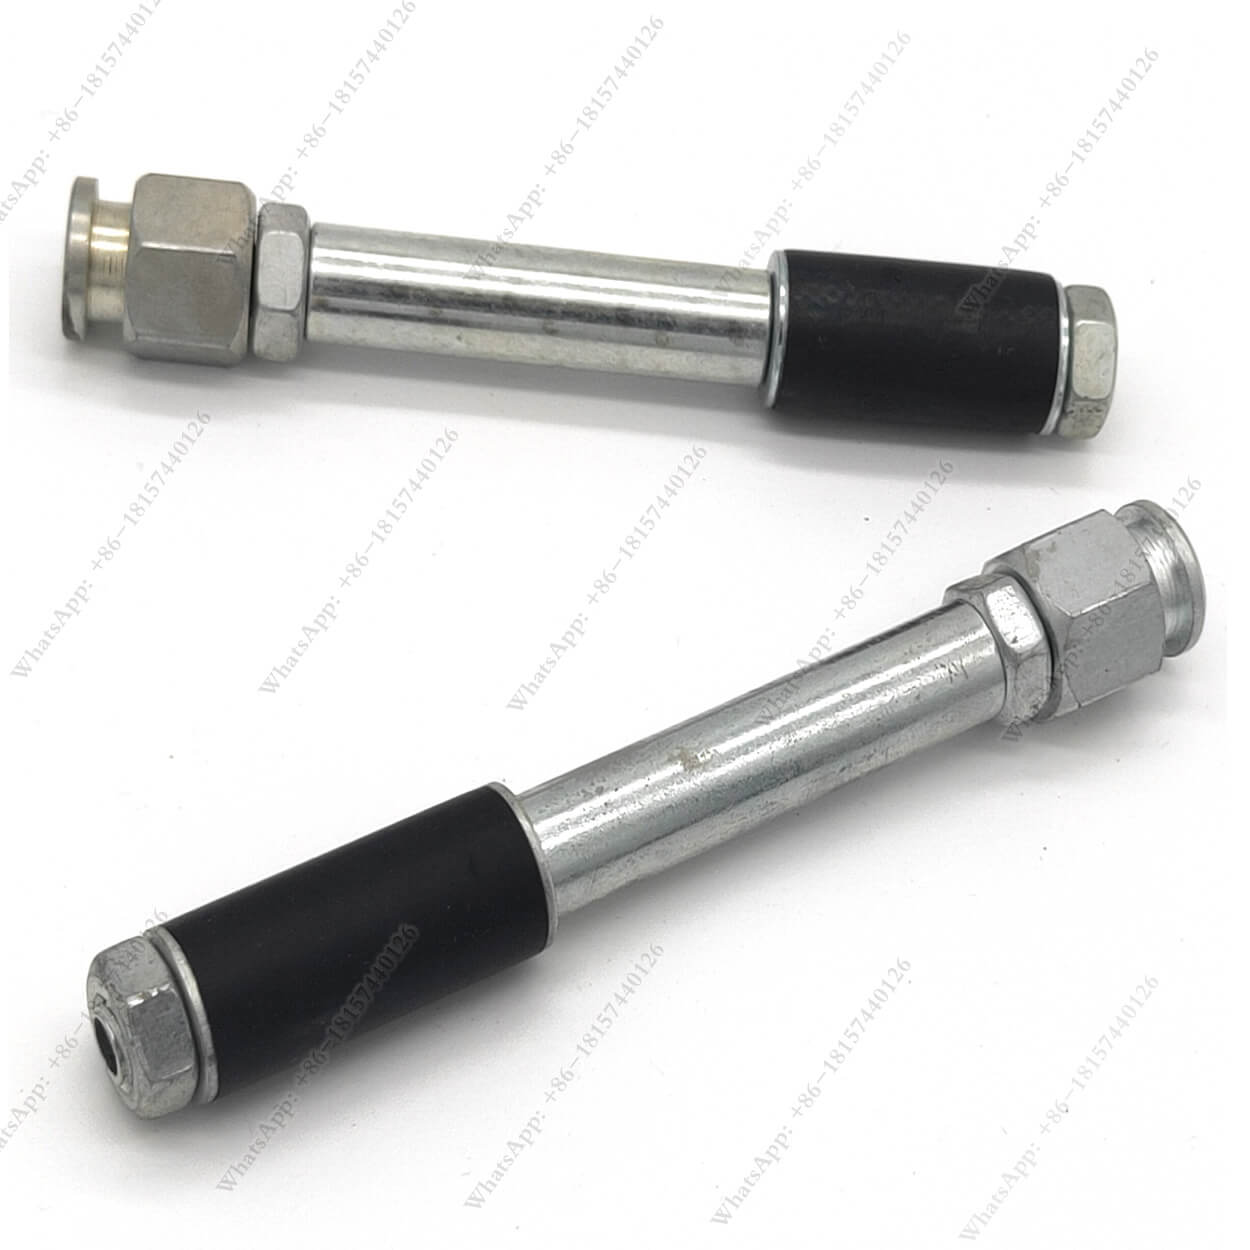
Hammer-In Ports: These ports are inserted into the hole and hammered in place. They seal the hole by creating a tight fit against the concrete. While they work well in high-quality concrete, hammer-in ports may struggle to seal properly if the concrete is weak or the hole is not perfectly round.

Mechanical Ports: These ports are more robust, using a larger surface area to form a strong seal. Mechanical ports are ideal for weak or irregular concrete. They are tightened into place, providing a more secure fit and holding higher pressure than hammer-in ports.

When installing the ports, be careful not to over-tighten them, as this can crack the concrete, especially if the drilled hole is too close to the crack or at a steep angle.

Pro Tip:

For tight or very wet cracks, mechanical ports are preferable as they ensure a stronger, more reliable seal.

Step 4: Flushing the Crack

Before injecting the resin, the crack must be flushed with clean water. This step is crucial for preparing the crack to receive the resin and ensuring that it penetrates deeply.

Why Flushing the Crack is Important:

Cleaning: Water flushes out dirt, dust, and any debris from inside the crack, ensuring the resin bonds properly with the concrete.

Testing Flow: Flushing helps determine how easily the resin will flow through the crack once injected.

Penetrating Tight Cracks: Water, being thinner than resin, can reach deep into narrow parts of the crack that resin might struggle to penetrate. This step helps open these areas so that the resin can flow more freely.

Ensuring Moisture: Polyurethane resins react with water to form an expanding foam that seals the crack. Flushing ensures there is enough moisture in the crack for the resin to react and expand fully.

Pro Tip:

Start flushing at the lowest injection port and work your way up to the highest. Use the same high-pressure pump you’ll use for the resin, but with clean water, to achieve the right level of penetration.

Step 5: Injecting the Resin

The final step in the process is injecting the polyurethane resin into the crack. The goal is to ensure that the resin penetrates every part of the crack, forming a watertight seal.

Injection Process:

Begin injecting resin at the lowest port, applying the lowest pressure that allows continuous resin flow.

Gradually increase the pressure if needed, but avoid starting with high pressure, as this can cause the resin to blow out of the crack rather than penetrate it.

Keep injecting resin as long as more is going into the crack than is coming out. Even if resin starts to flow out of the crack, it’s crucial to continue until the resin has thoroughly filled the internal spaces.

When resin begins to foam (due to its reaction with water), you’ll know that the crack is properly sealed.

Pro Tip:

Monitor the flow of resin carefully. If raw amber resin (not foam) begins coming out of the crack, stop injecting and move to the next port. Amber resin indicates that the crack is dry in that area, and further injection will be less effective.

Handling Obstacles: Drilling into Rebar

Encountering rebar during the drilling process is common. Rebar provides structural support to concrete, but it can interfere with your ability to drill the necessary holes. When you hit rebar, you have several options:

  1. Adjust the Angle: Move either closer to or farther from the crack and try drilling at a different angle.
  2. Drill Parallel: If adjusting the angle doesn’t work, try drilling parallel to the crack to avoid rebar.
  3. Last Resort: As a final option, drill straight into the crack, although this is not ideal. If you can install the injection port deeply enough, you may still achieve a good seal.

Avoid attempting to drill through rebar—it weakens the structure and can damage your drill bit.

Conclusion

Crack injection is a detailed and highly technical process, but when done correctly, it provides a long-lasting solution for sealing concrete leaks. By following the five steps of drilling, flushing, installing ports, flushing the crack, and injecting resin, you can ensure the resin penetrates deeply into the crack and seals it effectively.

Challenges such as hitting rebar or managing resin flow can complicate the process, but with practice and attention to detail, these obstacles can be overcome. The key is to work methodically, avoid shortcuts, and always ensure that each step is done with precision.

By mastering these techniques, you can become proficient at crack injection, saving time, money, and preventing future leaks.

Comments

滚动至顶部

Inquiry Now

Fill out the form below, and we will be in touch in 20 minutes

Inquiry Now

Fill out the form below, and we will be in touch in 20 minutes